
Bring Your Own GCS Bucket
After following the steps below, you may enter the following information in the Activation Source creation wizard:
- Bucket Name
- Project ID
- Service Account Email
- Service Account Key
Initial setup
1. Create a GCS Service Account
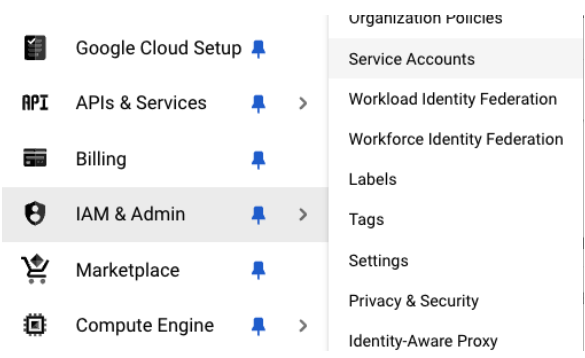
Log into Google Cloud Console and navigate to IAM & Admin -> Service Accounts
- Click Create Service Account
- Enter a Service Account Name
- Keep the generated Service Account ID, generate a new one, or enter your own
- Copy the Service Account Email
- Configure the project permissions for the Service Account
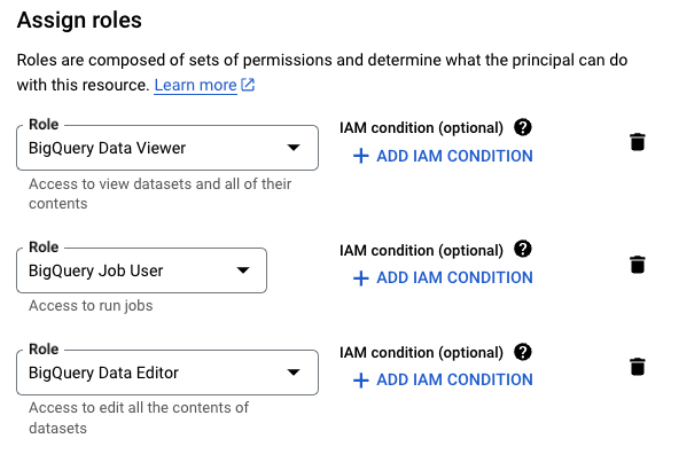
2. Generate a Service Account Key
Log into Google Cloud Console and navigate to IAM & Admin -> Service Accounts
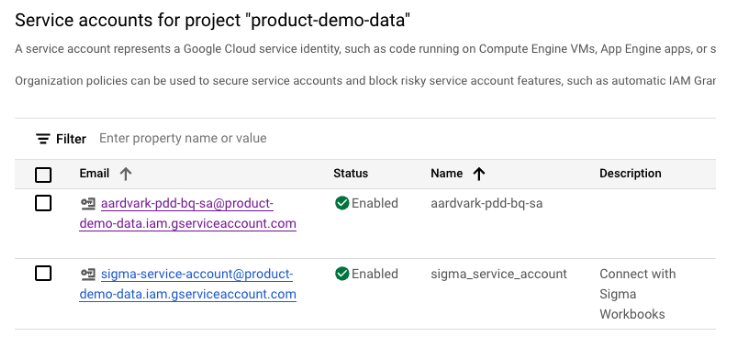
Click the name of your Service Account
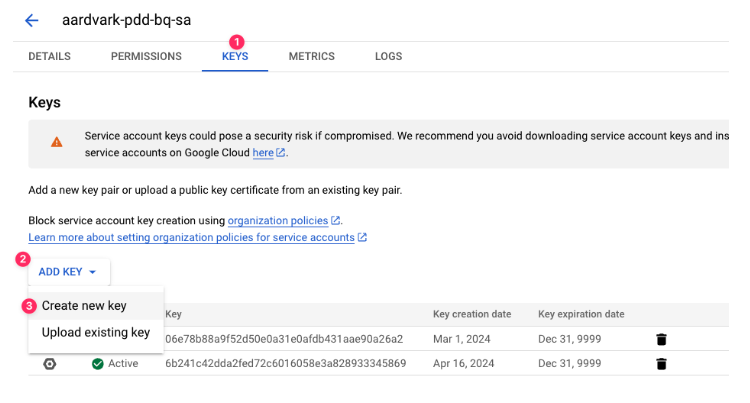
Open the Keys tab and click Add Key -> Create New Key
Choose the key type "JSON" and click Create
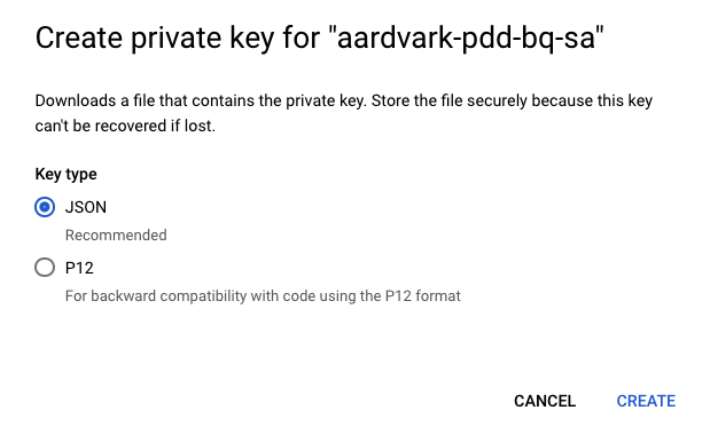
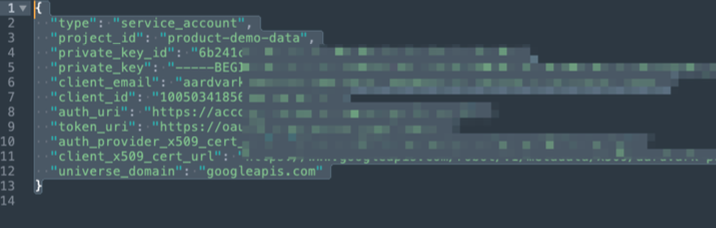
Save the generated
.jsonfile in a secure location.
3. Create a GCS Bucket
Log into Google Cloud Console and navigate to your Project
Go to Cloud Storage -> Buckets and click Create
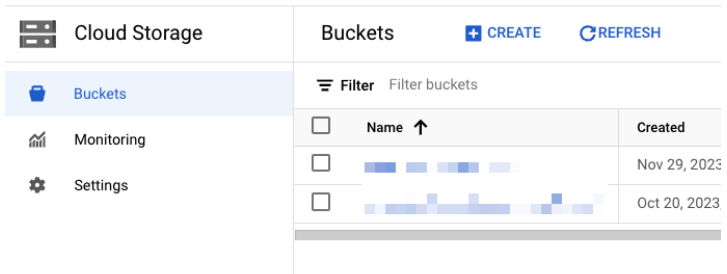
Give your bucket a name
Configure the bucket settings
- Location: choose the same location setting as your BigQuery project
- Storage Class: Standard
- Check Enforce Public Access Prevention
- Access Control: Uniform
- Leave versioning, and encryption on defaults.
- Lifecycle Policy: Lifecycle rules should be enabled to:
- Action: Delete object
- Object condition: 14+ days since object was created
Name matches prefix 'sync-unloads/'.
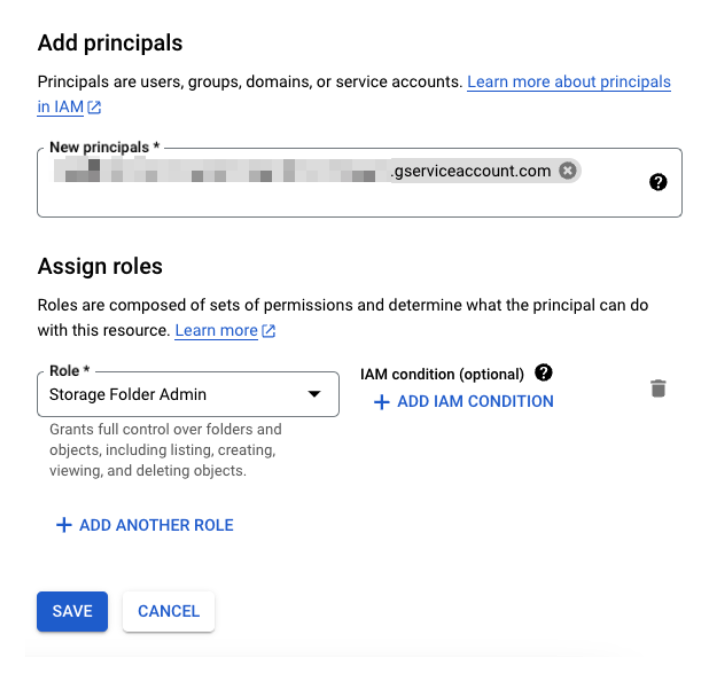
Once the bucket has been created, navigate to Permissions
Grant your Service Account the permissions
- Storage Object User
- Storage Object Creator
4. Finish up
Provide the bucket name, project ID, and service account credentials to the Activation Source creation wizard. Press "Connect" to validate the connection. The wizard will continue only if the provided bucket is configured correctly.
Configuring a bucket for temporary warehouse unloads from BigQuery
When creating your BigQuery connection
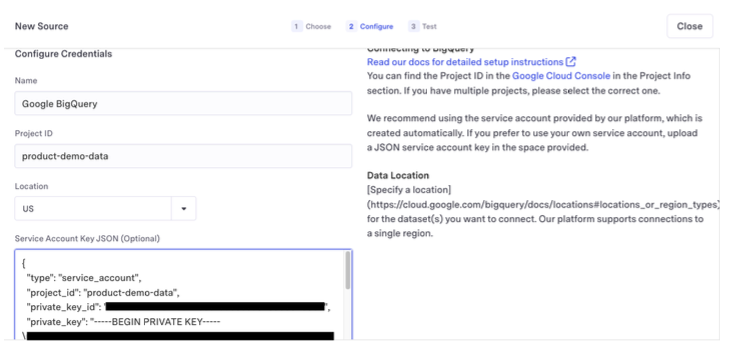
- In Activations, create a connection to BigQuery using the appropriate Project ID and Location.
- Paste the contents of the Service Account Key JSON file (from above) into the Service Account Key JSON (Optional) box.
- Click Connect and Confirm
Note: There is no need to copy and run the GCP Console commands
provided in-app when following this setup guide. Please ignore them.
Ongoing maintenance
After you set up your bucket, you don't need to take further action. Fivetran will automatically create and remove files as needed, and the lifecycle retention policies you defined in the previous step will automatically remove any stale data in the unlikely event that we fail to do so.
We strongly recommend that once set up, you do not modify the bucket or any of the keys it contains in any way. Adding, removing, modifying, or renaming data in your Activations bucket is not supported and will likely cause activation syncs to fail. In addition, the Activations bucket should not be simultaneously employed for any other purposes.
If you need to rename your bucket or service account, please contact Fivetran Support.