Chargebee
This page describes how to use Activations with Chargebee
Getting Started
In this guide, we will show you how to connect Chargebee to Activations and create your first sync.
Prerequisites
- Have your Fivetran account ready. If you need one, create a Free Trial account now.
- Have your Chargebee account ready.
- Have the proper credentials to access to your data source. See our docs for each supported data source for further information:
1. Collect Your Credentials from Chargebee
Activations needs only your Chargebee API token and sub domain to connect you to your Chargebee instance.
- The API token can be found in your Chargebee Settings under Configure Chargebee
- The sub domain will be in your instance's URL and follow the structure subdomain.chargebee
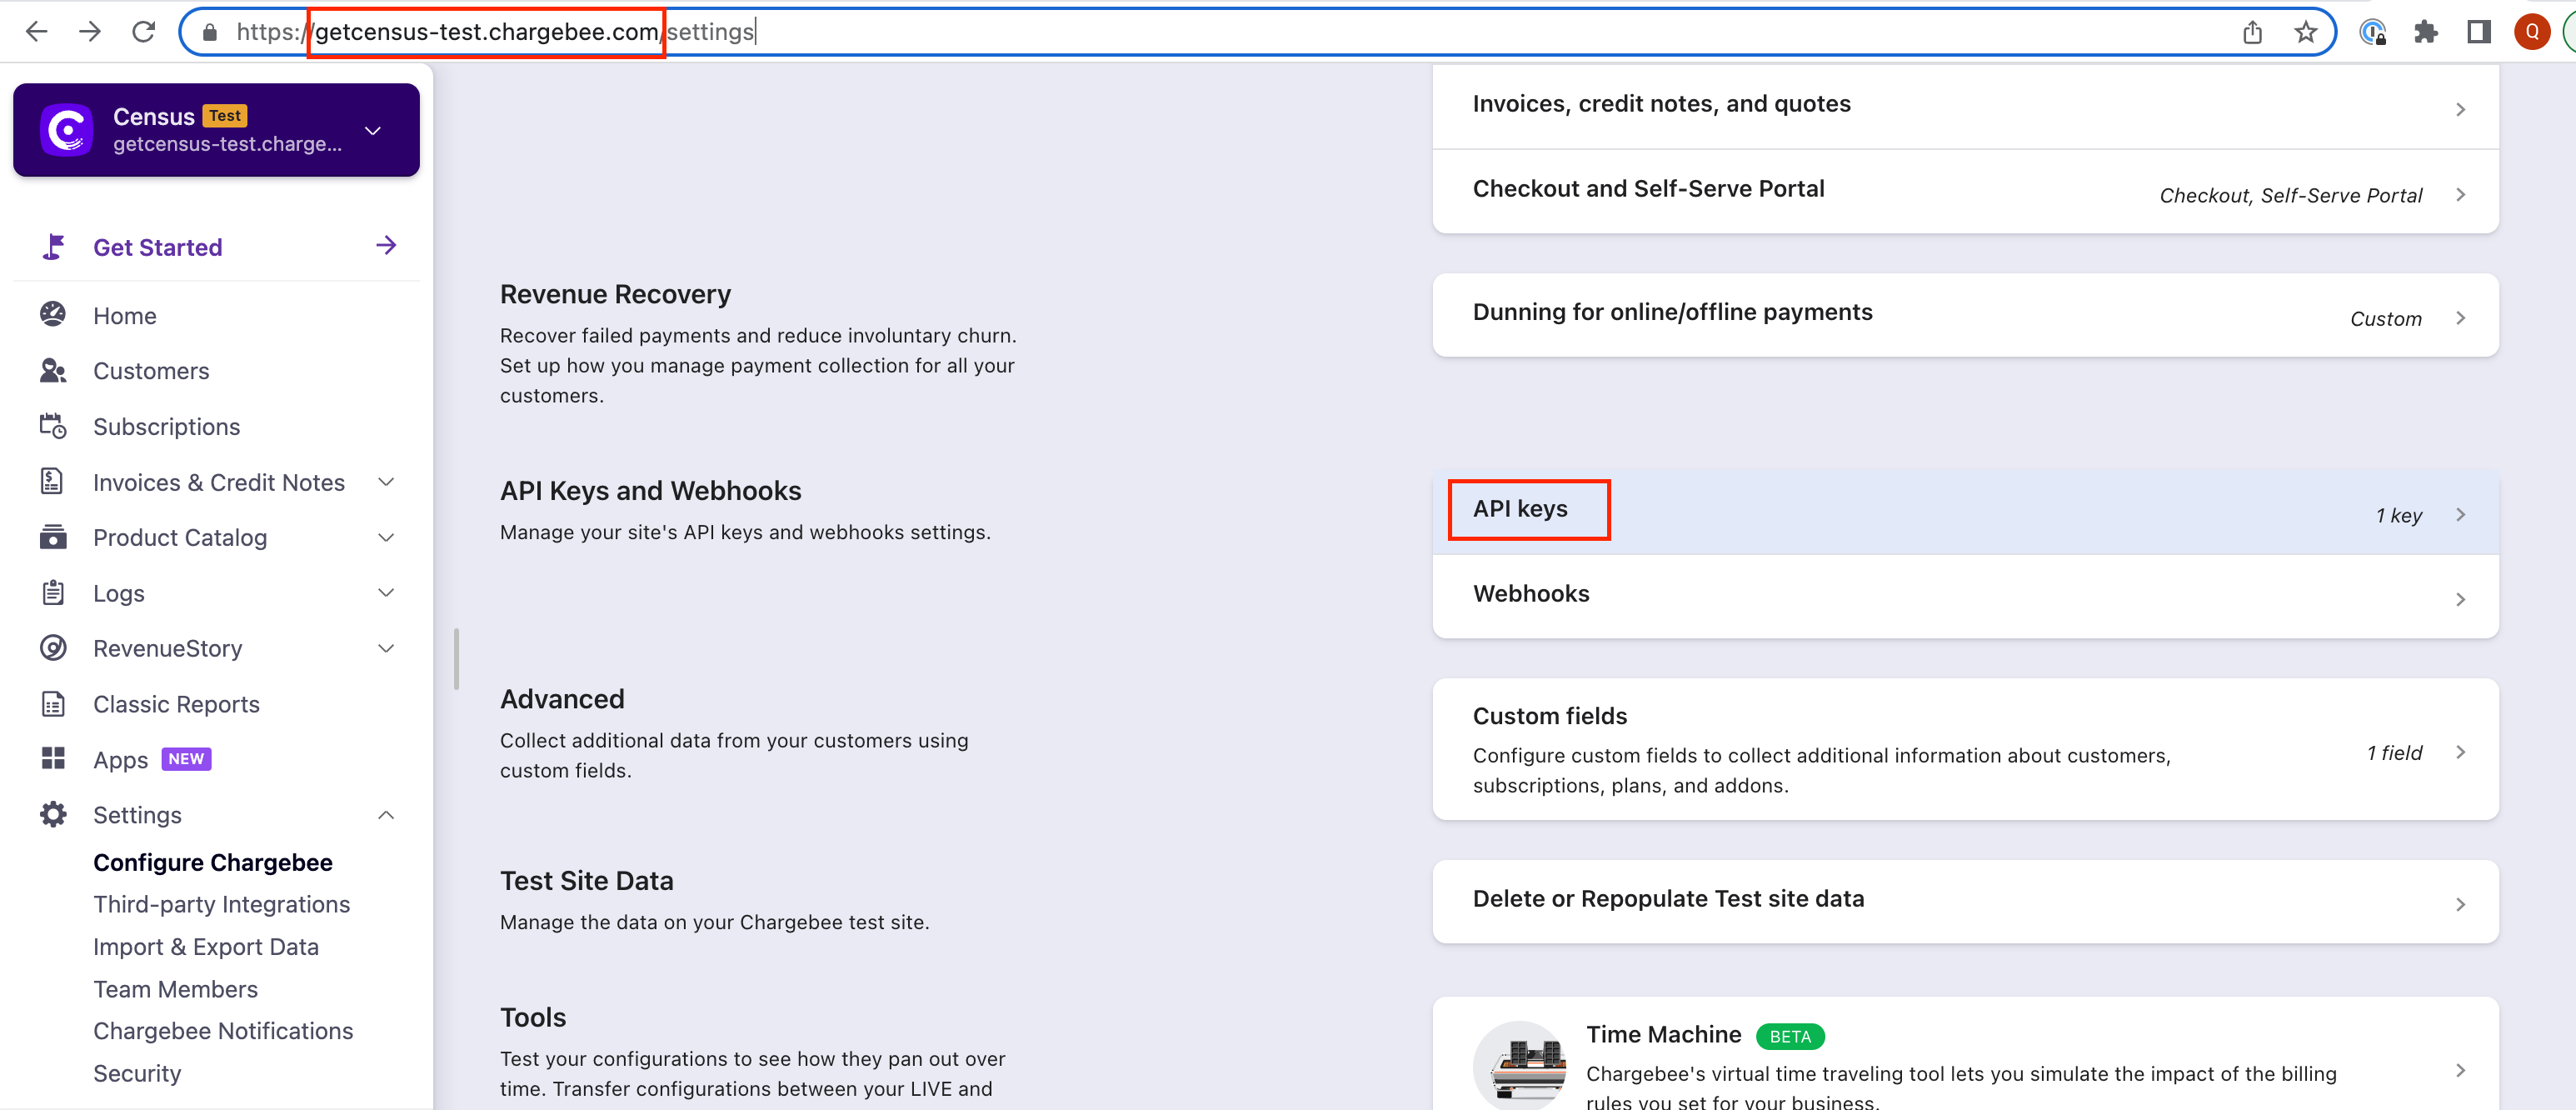
Collect the API token and sub domain from Chargebee
2. Connect Chargebee
- Once you are in Activations, navigate to Destinations
- Click the New Destination button
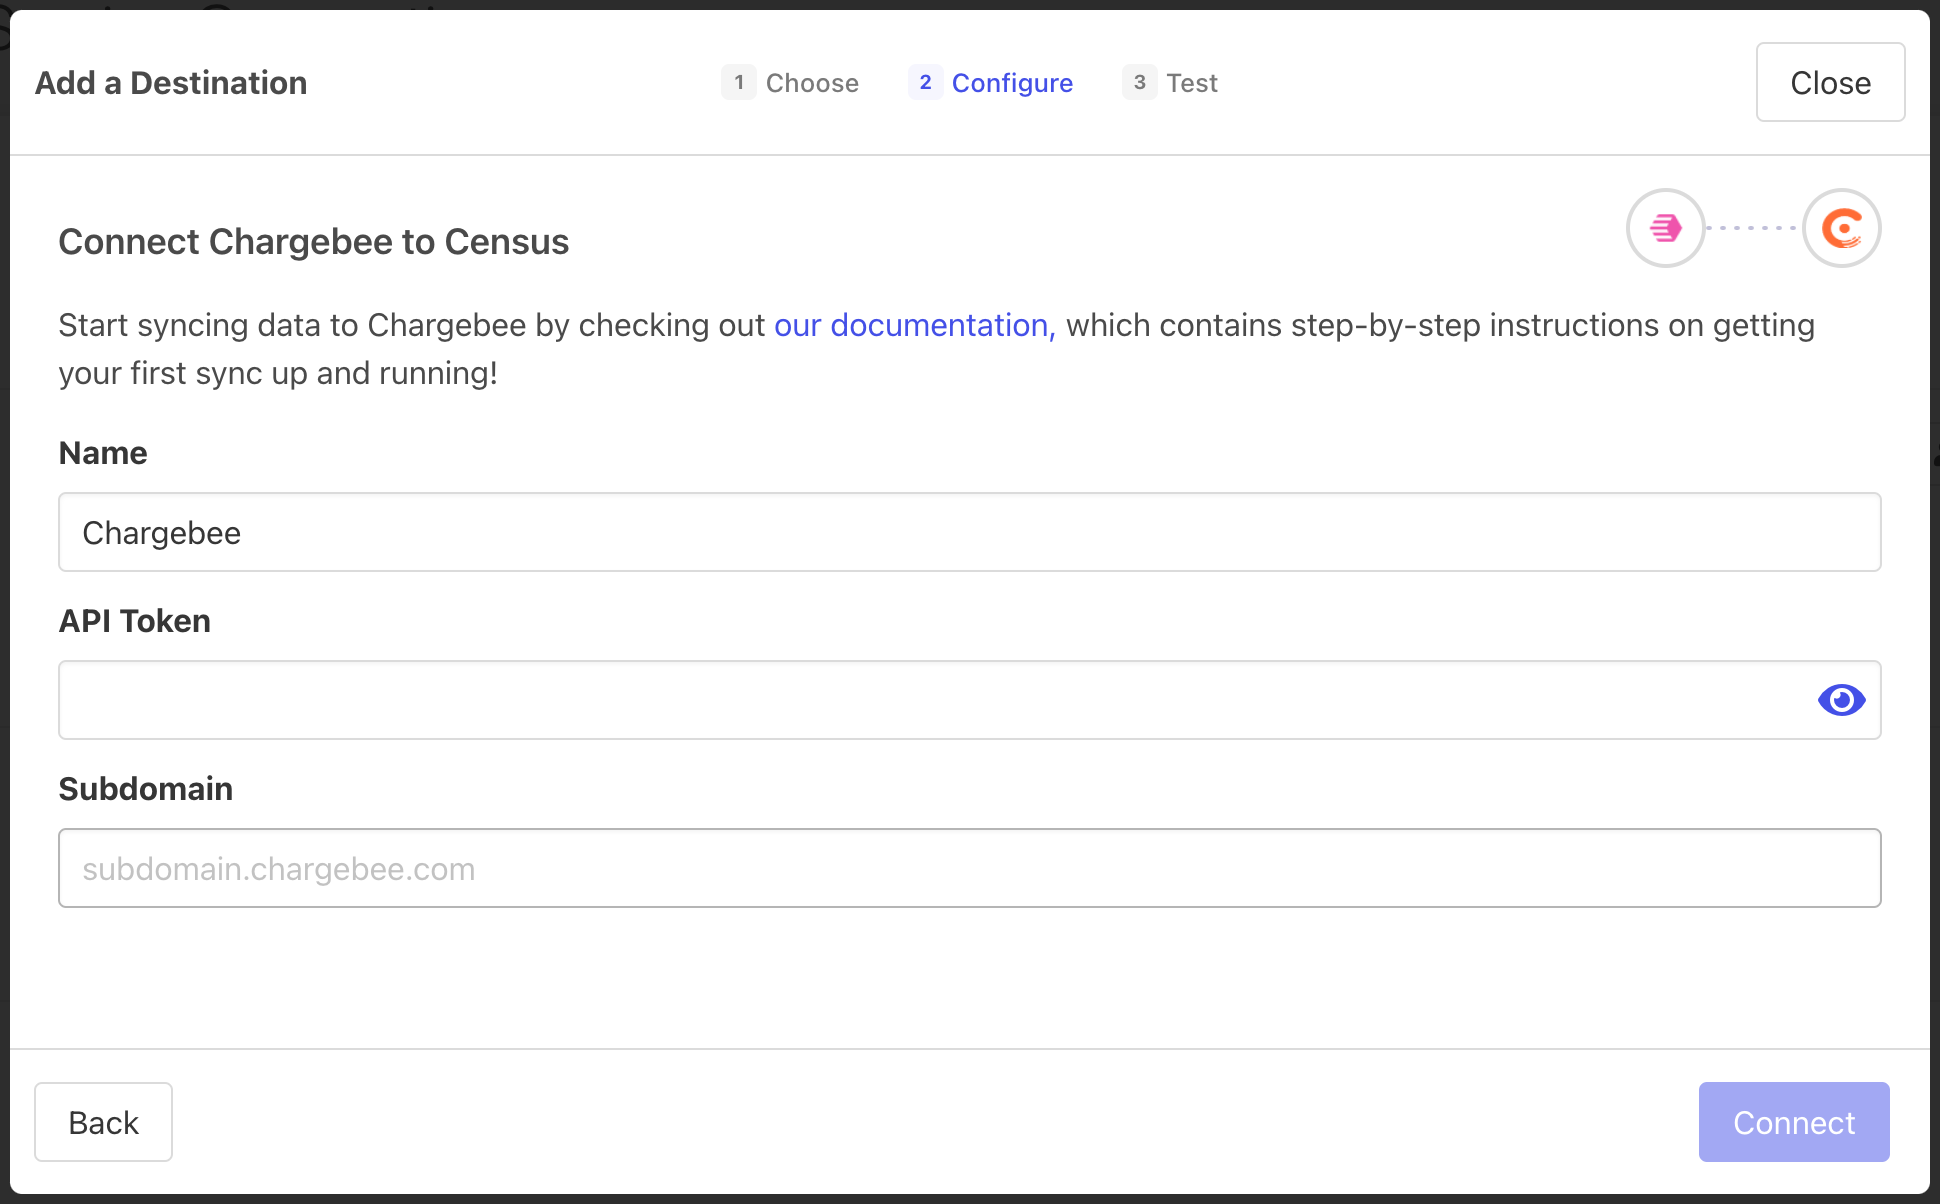
- Select Chargebee in the list
- Enter your Chargebee credentials and click Connect
Custom Fields in Chargebee
Custom fields defined in Chargebee can be added to the sync mapping by manually entering the custom field API Name in the destination field mapping.
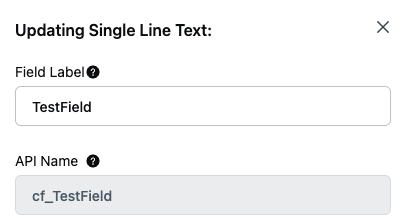
Chargebee Custom Field

Sync Mapping
️ Supported Objects
Activations currently supports syncing to the following Chargebee objects.
| Object Name | Supported? | Sync Keys |
|---|---|---|
| Customer | ✅ | ID, Email |
| Subscription | ✅ | ID, Plan ID |
Supported Sync Behaviors
Learn more about all of our sync behaviors in our Syncs documentation.
| Behaviors | Supported? | Objects |
|---|---|---|
| Update Only | ✅ | Customer, Subscription |
Contact Support if you want Activations to support more Sync behaviors for Chargebee.
If you run into a dead end, open a ticket in the Fivetran Support portal.