Emarsys
This page describes how to use Activations with Emarsys.
Getting Started
- Navigate to the Destinations page in Activations and click New Destination.
- Select Emarsys from the menu.
- Open the Emarsys app in another browser tab and navigate to Management > Security Settings > API Users. Select Create API user and take note of the User name and Secret provided (these will only be displayed once).
- Once you've created the API user, click the pencil icon next to the new user to edit the permissions assigned to it. Enable all
contactandfieldscopes, then save your changes. - Return to Activations and input your User name and Secret.
Note: Permission changes do not occur immediately. There could be a delay of a few minutes before permissions take effect. If your connection test fails in Activations, your API user permissions may not have saved properly. Revisit step 4.
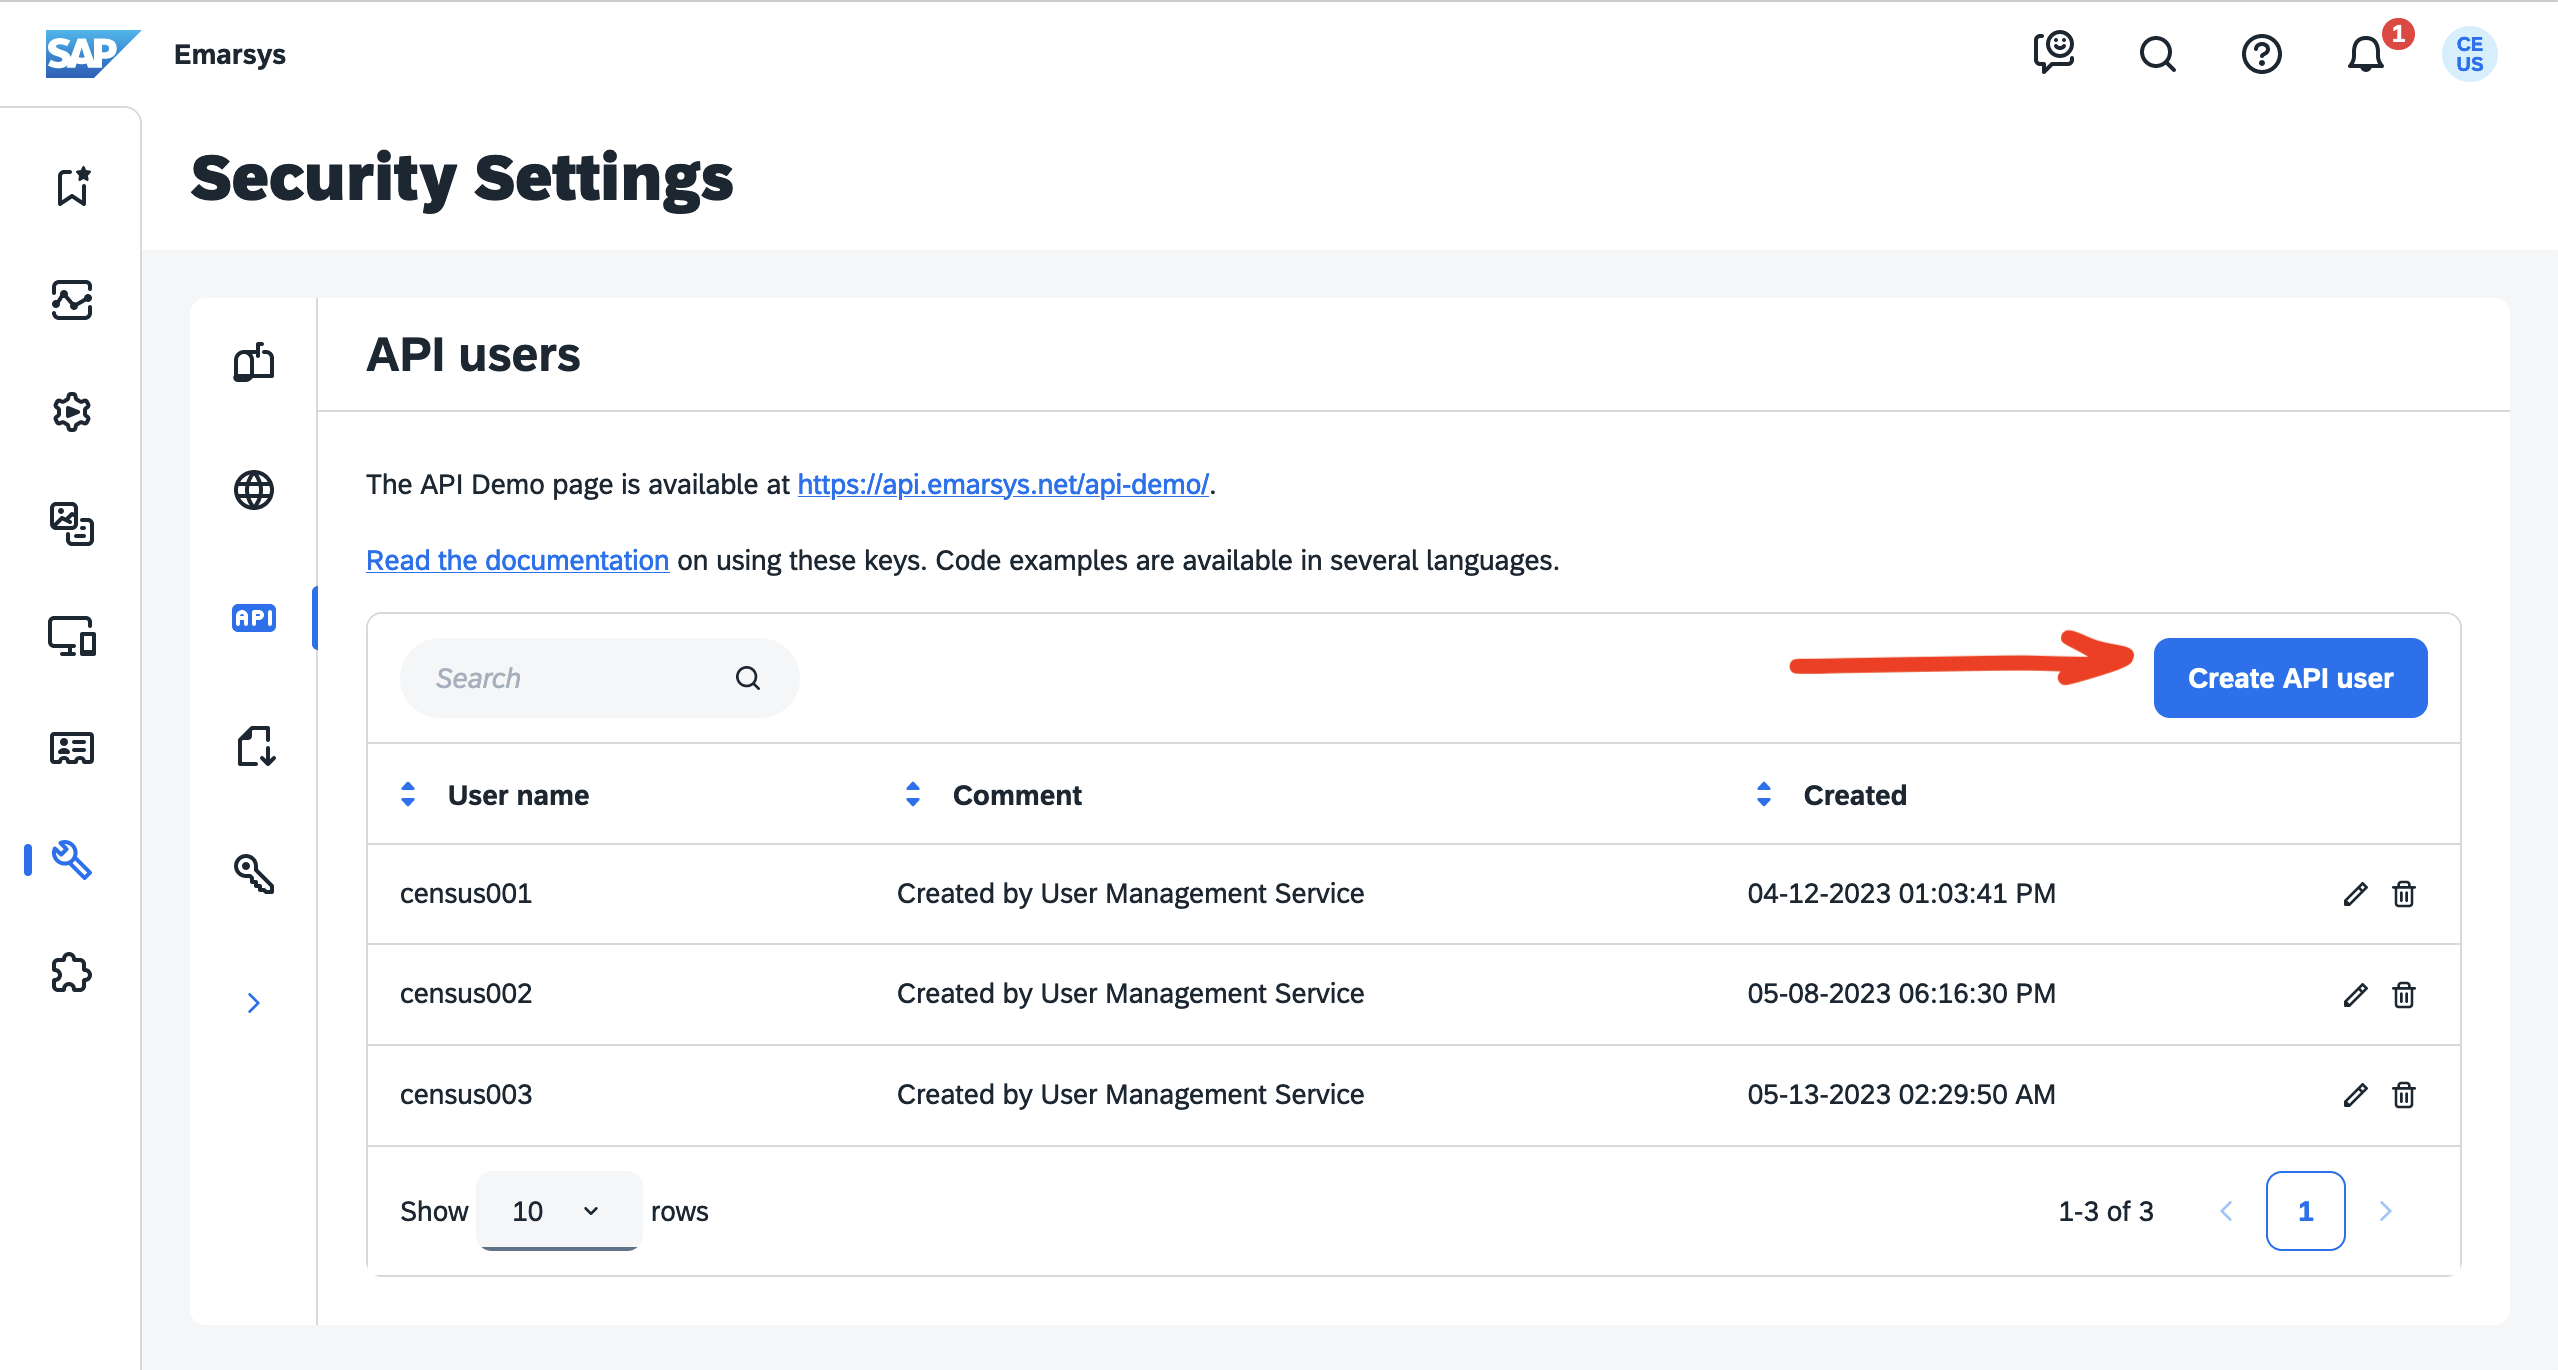
Create an API user in the Emarsys app.
Supported Objects and Behaviors
| Object Name | Supported? | Sync Keys | Behaviors |
|---|---|---|---|
| Contact | ✅ | Any indexed field, ID (Update Only) | Update or Create, Update Only |
Contact & Contact List | ✅ | Mirror |
Contact Support if you want Activations to support more Emarsys objects and/or behaviors.