Customer.io
This page describes how to use Activations with Customer.io.
Getting Started
In this guide, we will show you how to connect Customer.io to Activations and create your first sync.
Prerequisites
- Have your Fivetran account ready. If you need one, create a Free Trial account now.
- Have your Customer.io account ready.
- Have the proper credentials to access to your data source. See our docs for each supported data source for further information:
1. Collecting Customer.io API Credentials
To connect Activations to your Customer.io, you'll need to provide Activations with a few credentials so that we can talk to it directly.
2. Go to your API Credentials page
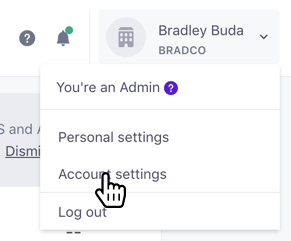
In the top right, click on your name, and select Account Settings
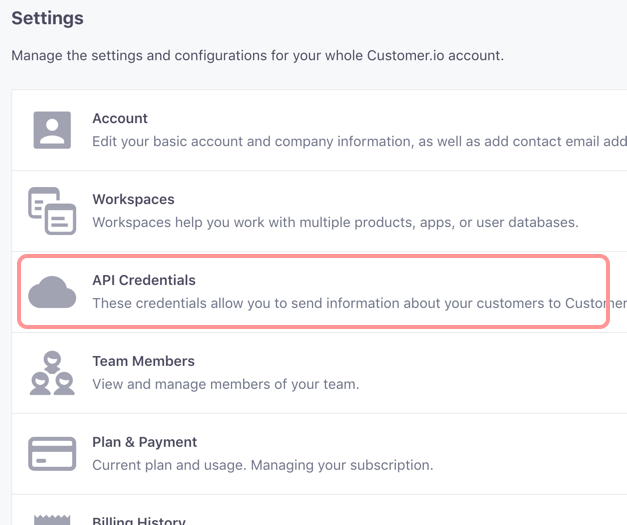
Then select API Credentials
3. Create a new set of Tracking API & App API credentials for Activations
Click the Create New API Credentials button in the top right.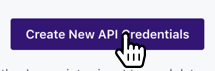
It's important to note that there are two types of API keys here: Track API Keys and App API Keys. Track API Keys are used to send behavioral tracking activity. App API Keys are used for triggering messages and broadcasts, as well as retrieving data from your workspace. For a more in-depth explanation, check out Customer.io's docs here. \

Tracking API Keys
\

App API Keys
Then, give the new credentials a name. It can be whatever you like, but give it something memorable so you know this key is used by Activations. If you're using Customer.io's workspaces feature, you'll want to specify which workspace to use. If you want to connect Activations to multiple workspaces, you'll need to create credentials for each one.
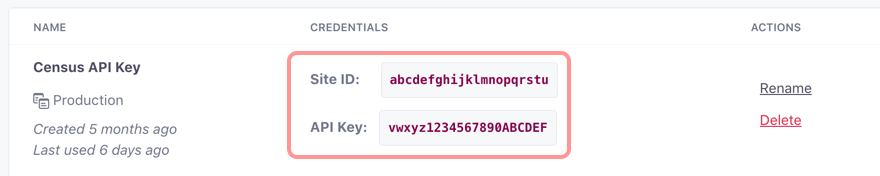
When you hit save, you'll return to the list of credentials. Make a note of the Site ID and API Key. You'll need to provide them to Activations.

4. Create a new Customer.io connection in Activations
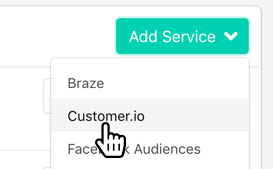
- Visit the Destinations tab in Activations and click New Destination
- Then select Customer.io from the menu
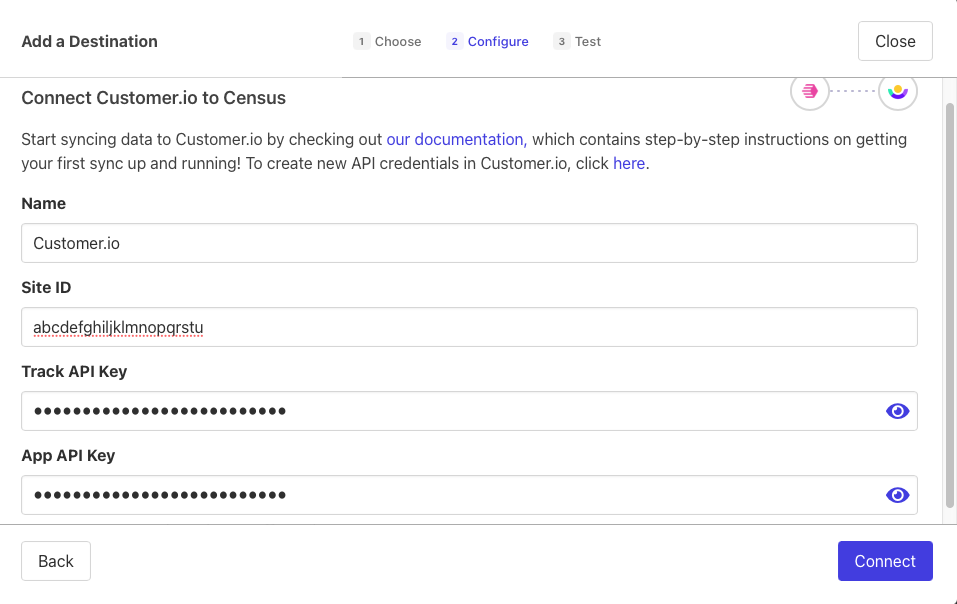
Finally, provide the Site ID and both API Keys you just created on Customer.io. You can name the connection something memorable. This is particularly useful if you're going to create multiple connections, one for each Customer.io workspace. In that case, include the Customer.io workspace name here.
Customer.io will now appear as a new destination for Activations syncs. 🎉
Sync Speed
Customer.io is a destination with a fast API that can burst all the way to 600 api calls per second but usually we set a conservative 150 calls per second.
| Service | Public API rate limit | Records sync / Minute |
|---|---|---|
| Customer.io | 150 / sec | 7,000 |
️ Supported Objects and Sync Behaviors
We currently support all objects of Customer.io's core API.
| Object Name | Supported? | Sync Keys | Behaviors |
|---|---|---|---|
| Person | ✅ | ID, email | Update Only, Update or Create |
| Device | ✅ | Device ID | Update or Create |
| Event | ✅ | N/A | Send |
| Collection | ✅ | N/A | Replace |
| Manual Segment | ✅ | ID, Email, CustomerIO ID | Update or Create, Mirror |
| Objects | ✅ | Object ID | Update or Create, Mirror |
| Object ↔️ Person Relationships | ✅ | Object ID + Person ID, Email, or CustomerIO ID | Update or Create, Mirror |
Make sure you know what identifiers are used in your Customer.io Workspace!
Customer.io strongly prefers the ID field to be used as the identifier for a Person record and recommends using your internal ID when possible. If you plan to use the email field, make sure your workspace has enabled Using email as an identifier.
Learn more about all of our sync behaviors in our Syncs documentation.
Contact Support if you want Activations to support more Customer.io objects and/or behaviors
Things to know about Customer.io
There are a few unique features available when syncing to a Customer.io instance.
- Events are unique (literally!). Activations will only send new database rows to Customer.io and so Events only support the Send behavior for syncs. In order to make sure an event is only ever published once, each row in your events source needs a globally unique ID.
- All objects support arbitrary custom fields.
- If you are creating a sync for the first time:
- Go to the
Which properties should be updated?section and click Add Mapping at the bottom, and then click Create new field. Then, type in the name of the custom field as it appears in your Customer.io instance and hit Save. After that, you can select the field from your source that you want to send into that the Customer.io custom field.
- Go to the
- If you are editing an existing sync's mapping:
- Go to the sync's Configuration tab and in the
Mapped Fieldssection, click Edit, click Add Mapping at the bottom, and then click Create new field. Then, type in the name of the custom field as it appears in your Customer.io instance and hit Save. After that, you can select the field from your source that you want to send into that the Customer.io custom field.
- Go to the sync's Configuration tab and in the
- If you are creating a sync for the first time: