Stripe
This page describes how to use Activations with Stripe.
Getting Started
In this guide, we will show you how to connect Stripe to Activations and create your first sync.
Prerequisites
- Have your Fivetran account ready. If you need one, create a Free Trial account now.
- Have your Stripe account ready.
- Have the proper credentials to access to your data source. See our docs for each supported data source for further information:
1. Connect Stripe
- Once you are in Activations, navigate to Destinations
- Click the New Destination button
- Select Stripe in the dropdown list
- Add your API key

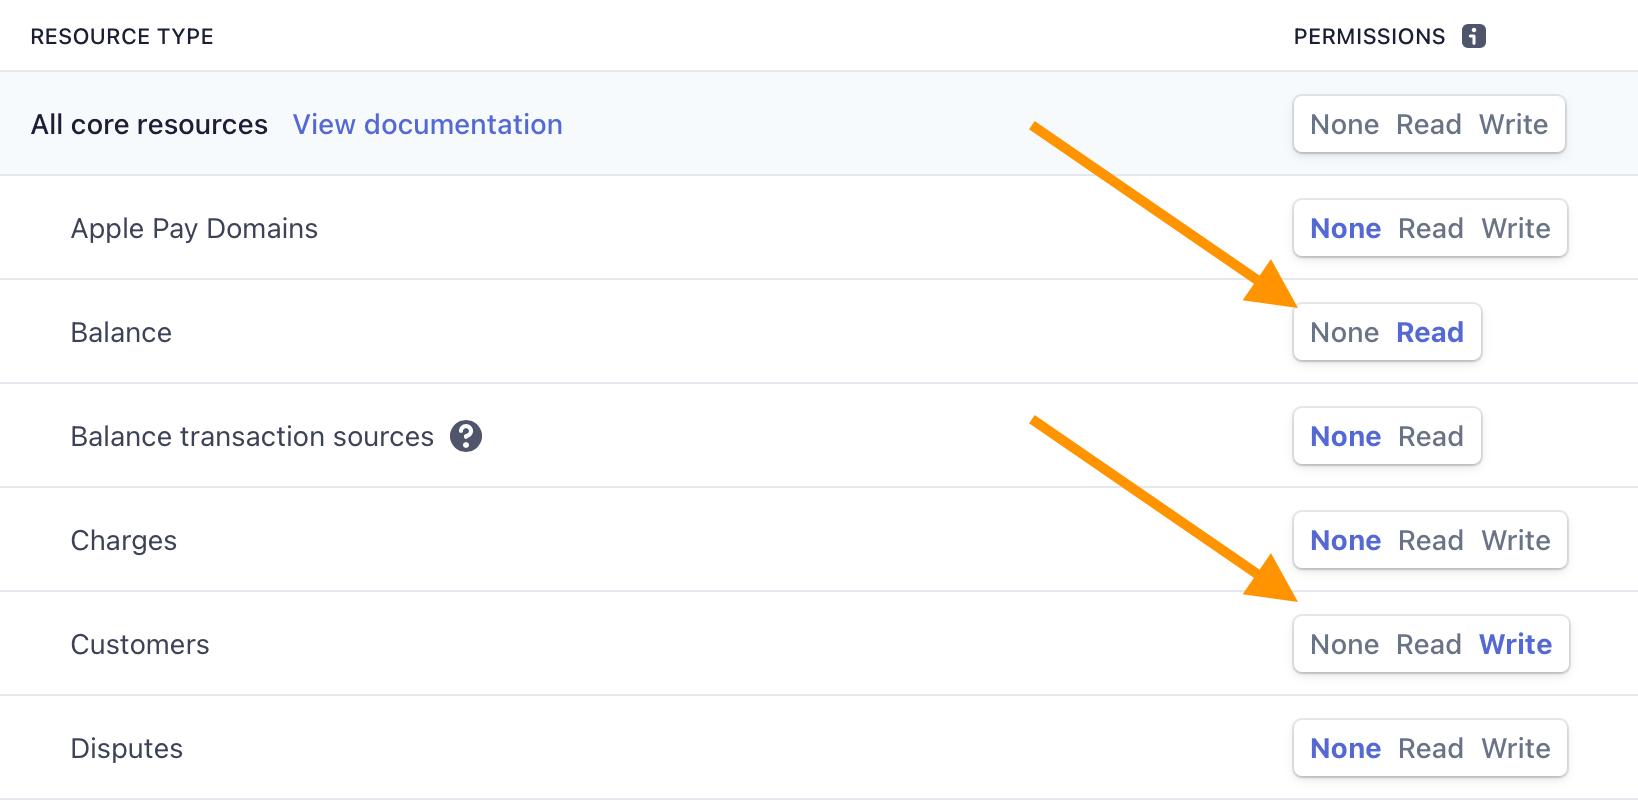
In Stripe, go to Developers > API Keys and create an API key that has Write permissions into Customers (and Read permission to Balances for testing our connection).
2. Connect your Data Warehouse
Please follow one of our short guides depending on your data warehouse technology
3. Create your first Model
Now navigate to the Model section of our Dashboard
Here you will have to write SQL queries to select the data you want to see in Stripe. Here are some ideas of data you should select
- The type of customer
- The attribution of the customer
- Order form data to generate an invoice
Once you have created your model, click save.

4. Create your first Sync
No head to the Sync page and click the Add Sync button
In the " What data do you want to sync?" section
- For the Connection, select the data warehouse you connected in step 2
- For the Source, select the model you created in step 3
Next up is the "Where do you want to sync data to?" section
- Pick Stripe as the Connection
- For Object, pick Customer
For the " How should changes to the source be synced?" section
- Select Update or Create
- Pick the right mapping key, it can be Email or any other external id for Customer
Finally, select the fields you want to update in the Mapper in the "Which Fields should be updated?" section
- Here simply map the field from your Stripe instance to the column from your model.
The end result should look something like this

Click the Next button to see the final preview which will have a recap of what will happen when you start the sync
5. Confirm the data is in Stripe
Now go back to your Stripe and go view a Customer Profile that should have been updated. If everything well well, you should see your data in Stripe

That's it, in 5 steps, you connect Activations to Stripe and started syncing customer & product data from your warehouse to Stripe 🎉
If you have any question or if you have any issues getting started, please reach out to the Support team
Supported Objects
Activations currently supports syncing to the following Stripe objects:
| Object Name | Supported? | Identifiers |
|---|---|---|
| Customer | ✅ |
Contact Support if you want Activations to support more objects for Stripe.
Supported Sync Behaviors
Learn more about all of our sync behaviors in our Syncs documentation.
| Behaviors | Supported? | Objects |
|---|---|---|
| Update or Create | ✅ | All |
| Update Only | ✅ | All |
Contact Support if you want Activations to support more Sync behaviors for Stripe.