Statsig
This page describes how to use Activations with Statsig.
Statsig is a Partner-Built Destination. Learn more about Statsig and how to set it up to receive events from Activations in Statsig's Activations integration guide.
Getting Started
In this guide, we will show you how to connect Statsig to Activations and create your first sync.
1. Generate an API Token within Statsig
Before setting up the Statsig connection within Activations, you'll first need to generate an API key within Statsig. Further instructions on how to configure your API key within Statsig available here!
For instructions on syncing to events, see Statsig's event sync documentation.
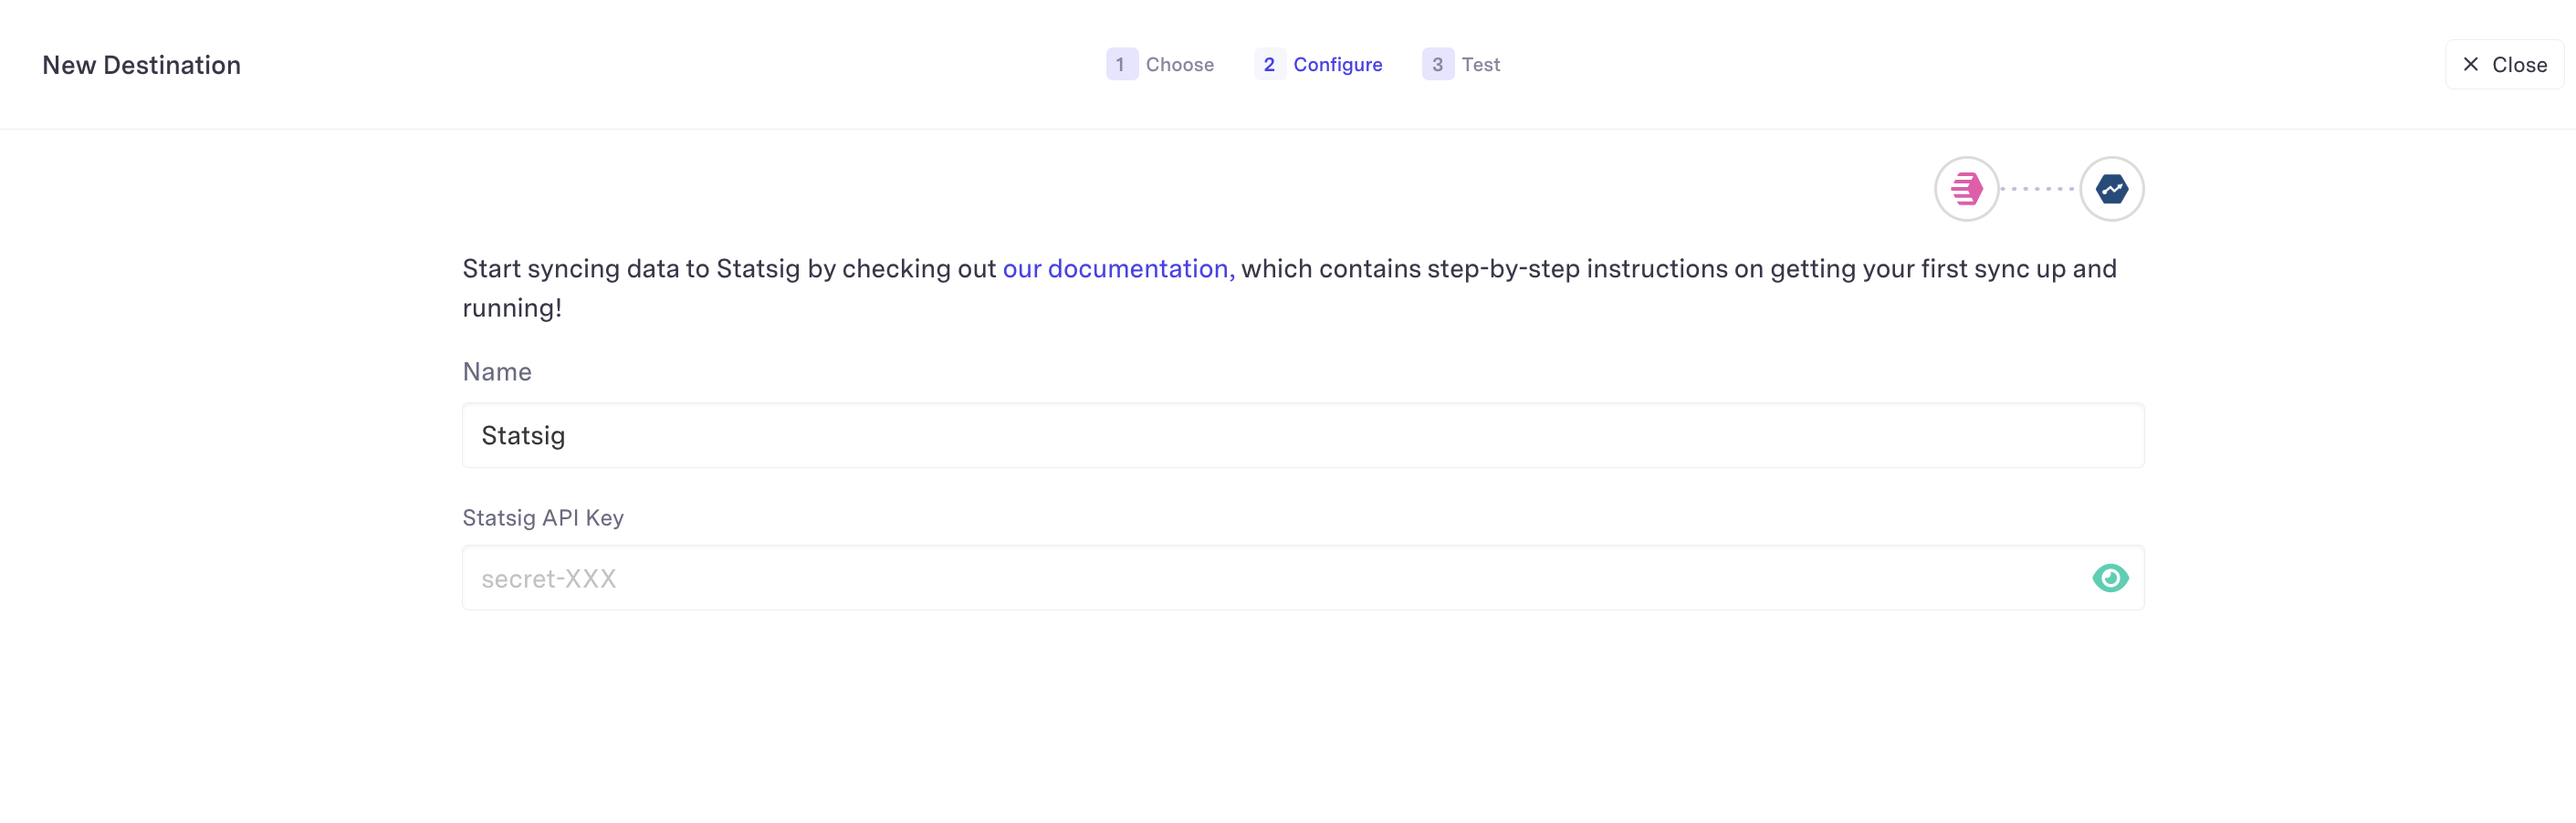
2. Add the API Key to Activations
With your API key, return to Activations and visit the Destinations tab. Click on the New Destination button and select Statsig from the menu. Copy and paste the value into the dialog and hit save. You should be clear to create a new sync!
3. Configure your Sync
The following fields are required when mapping to Statsig events.
Event ID(Activations requires a sync key to uniquely identify each event)User ID->userIDEvent Name->eventNameTimestamp->timestampValue->value
All other fields will be included in the metadata section of the mapped Statsig event.
Supported Objects
Activations currently supports syncing to the following Statsig objects.
| Object Name | Supported? | Sync Keys |
|---|---|---|
| Event | ✅ | Event Id |
Supported Sync Behaviors
Learn more about all of our sync behaviors in our Syncs documentation
| Behaviors | Supported? | Objects |
|---|---|---|
| Create Only | ✅ | Event |