Amazon CloudFront Setup Guide
Follow our setup guide to connect Amazon CloudFront to Fivetran.
Prerequisites
To connect Amazon CloudFront to Fivetran, you need:
- An S3 bucket containing files with supported file types and encodings
- An AWS account with the ability to grant Fivetran permission to read from the bucket
Setup instructions
Configure CloudFront logging
If you haven't already, configure CloudFront to store its log files in an S3 bucket according to Amazon's instructions.
Find External ID
In the connection setup form, find the automatically-generated External ID and make a note of it. You will need it to create an IAM role in AWS.
The automatically-generated External ID is tied to your account. If you close and re-open the setup form, the ID will remain the same. You may wish to keep the tab open in the background while you configure your source for convenience, but closing it is also OK.
Create IAM policy
This step will allow Fivetran to access your S3 bucket.
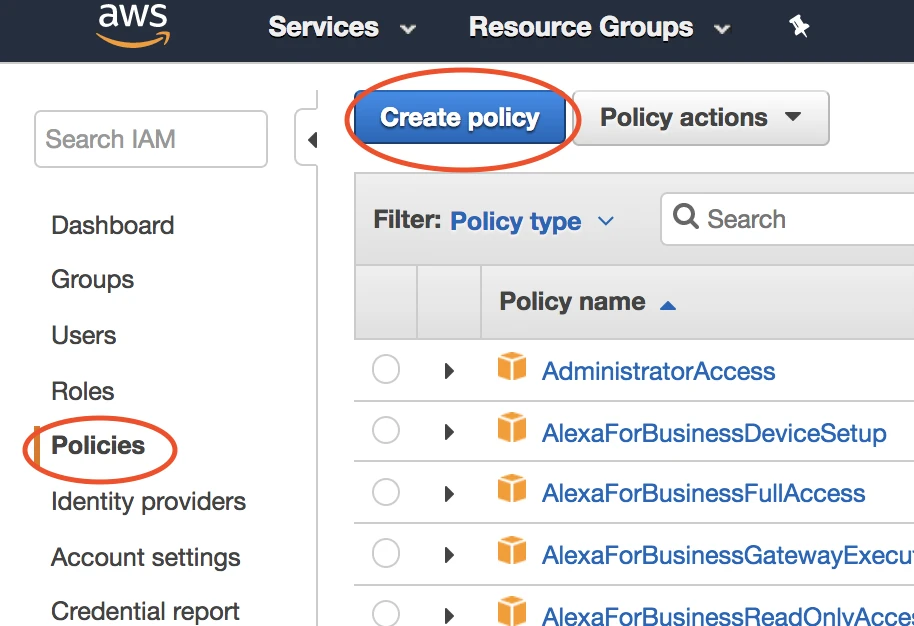
Open your Amazon IAM console.
Go to Policies, then select Create policy.
Go to the JSON tab.

Copy the following policy and paste it in the JSON tab, replacing
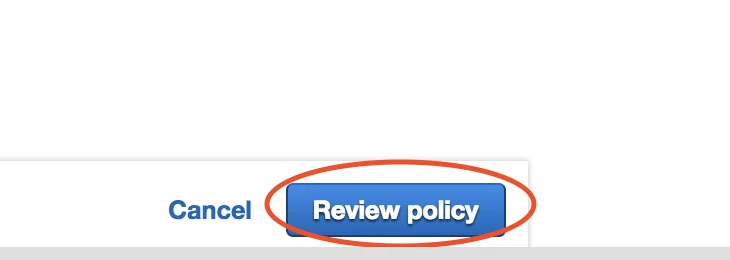
{your-bucket-name}with the name of the S3 bucket where you store CloudFront logs.{ "Version": "2012-10-17", "Statement": [ { "Effect": "Allow", "Action": [ "s3:Get*", "s3:List*" ], "Resource": "arn:aws:s3:::{your-bucket-name}/*" }, { "Effect": "Allow", "Action": [ "s3:Get*", "s3:List*" ], "Resource": "arn:aws:s3:::{your-bucket-name}" } ] }Click Review policy.
Name the policy "Fivetran-cloudfront-access".
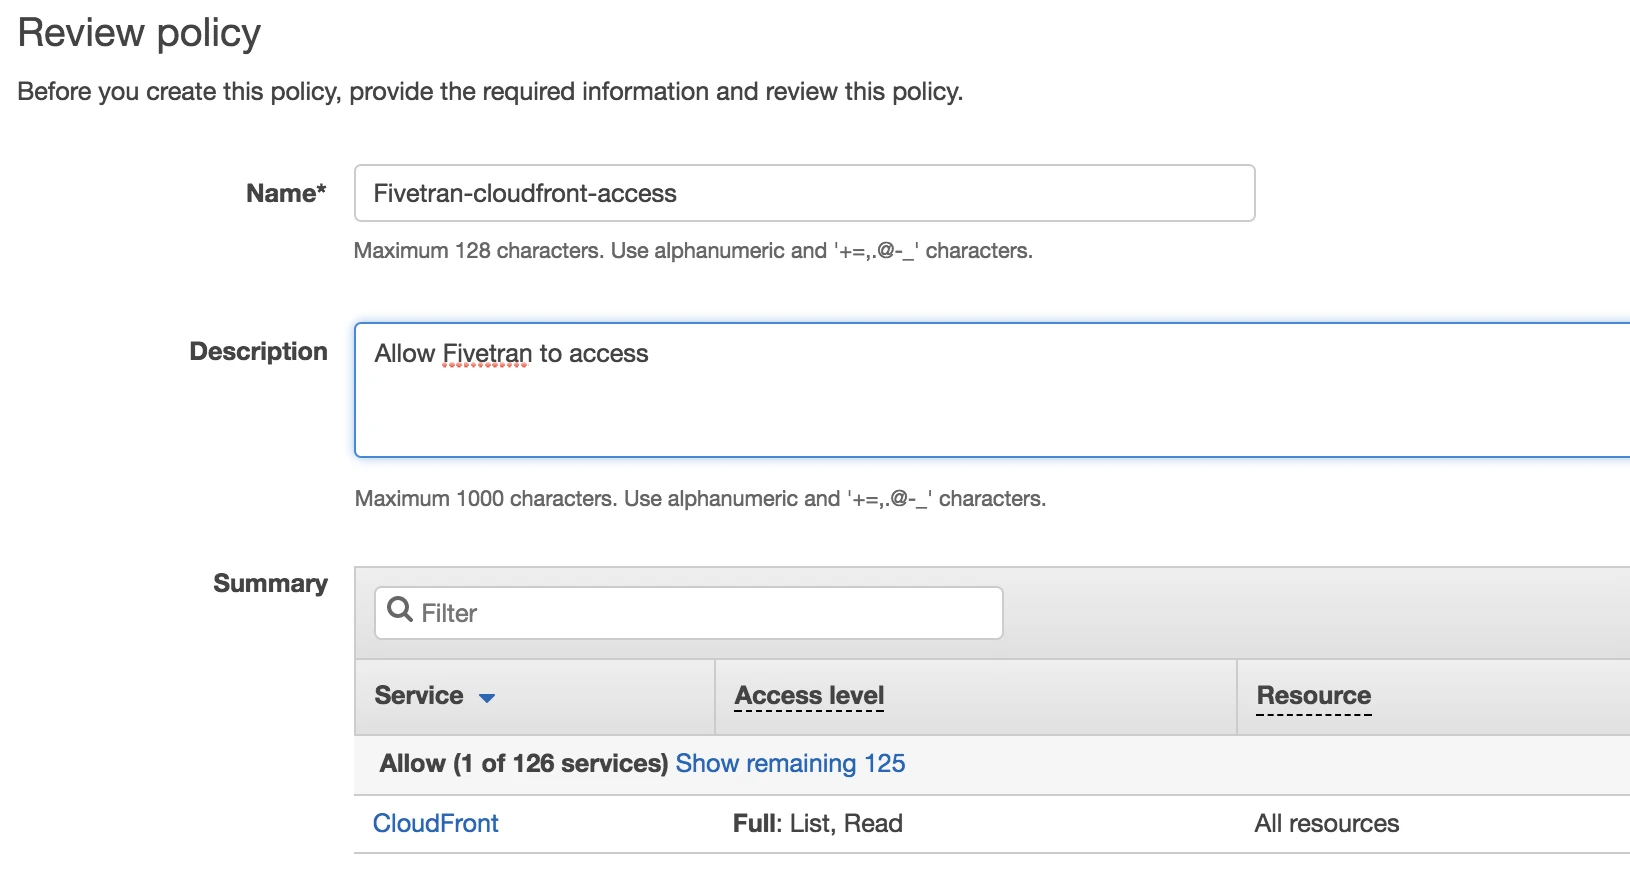
Click Create policy.
Create IAM role
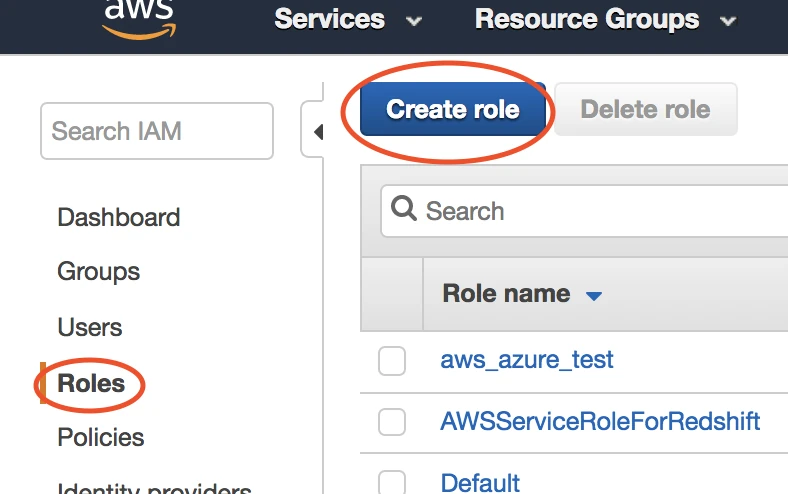
Go to Roles, then select Create role.
Select Another AWS account, then enter Fivetran's account ID,
834469178297, in the Account ID field. Select the Require external ID checkbox.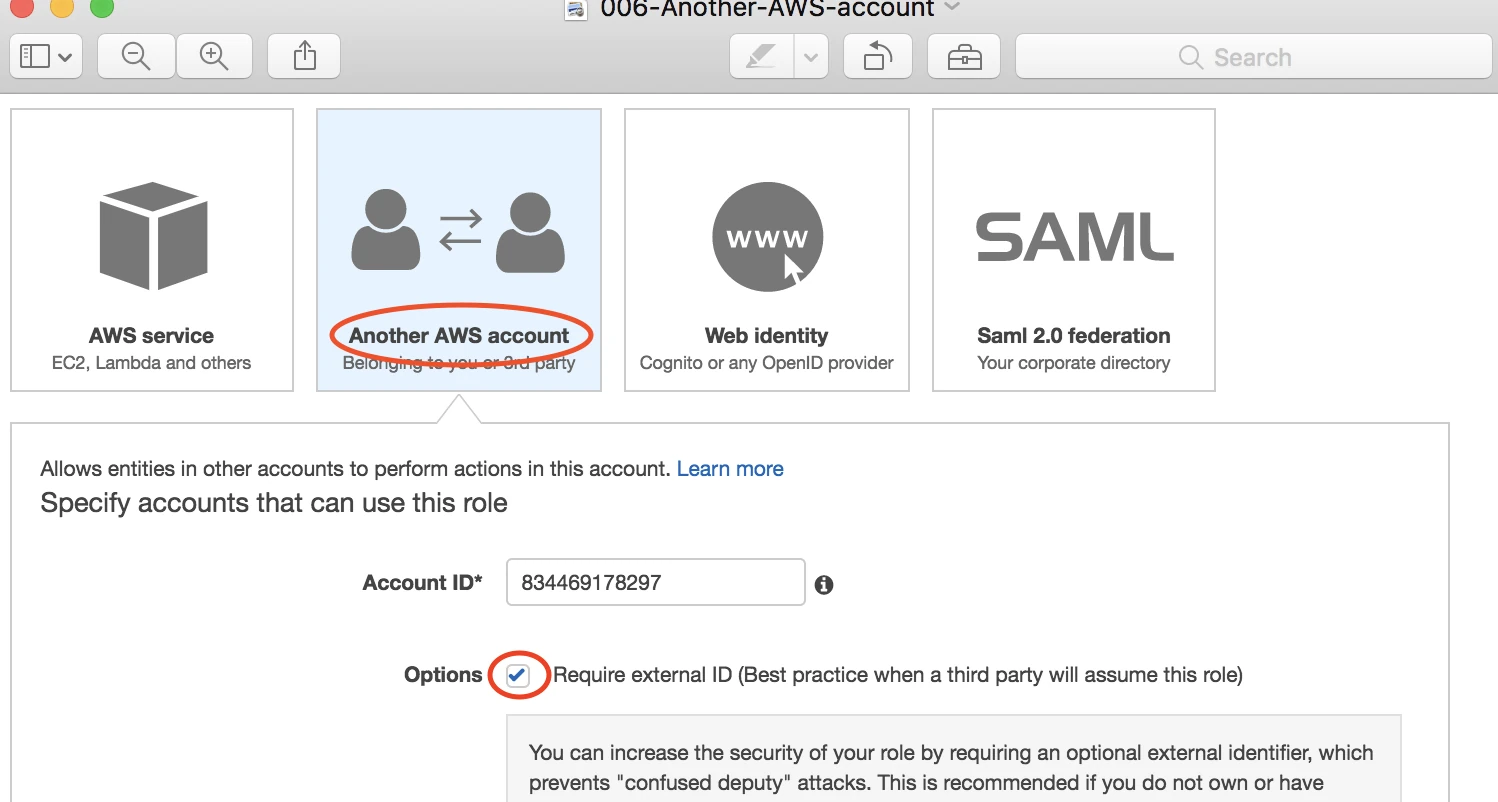
Enter the External ID you found in Step 2.
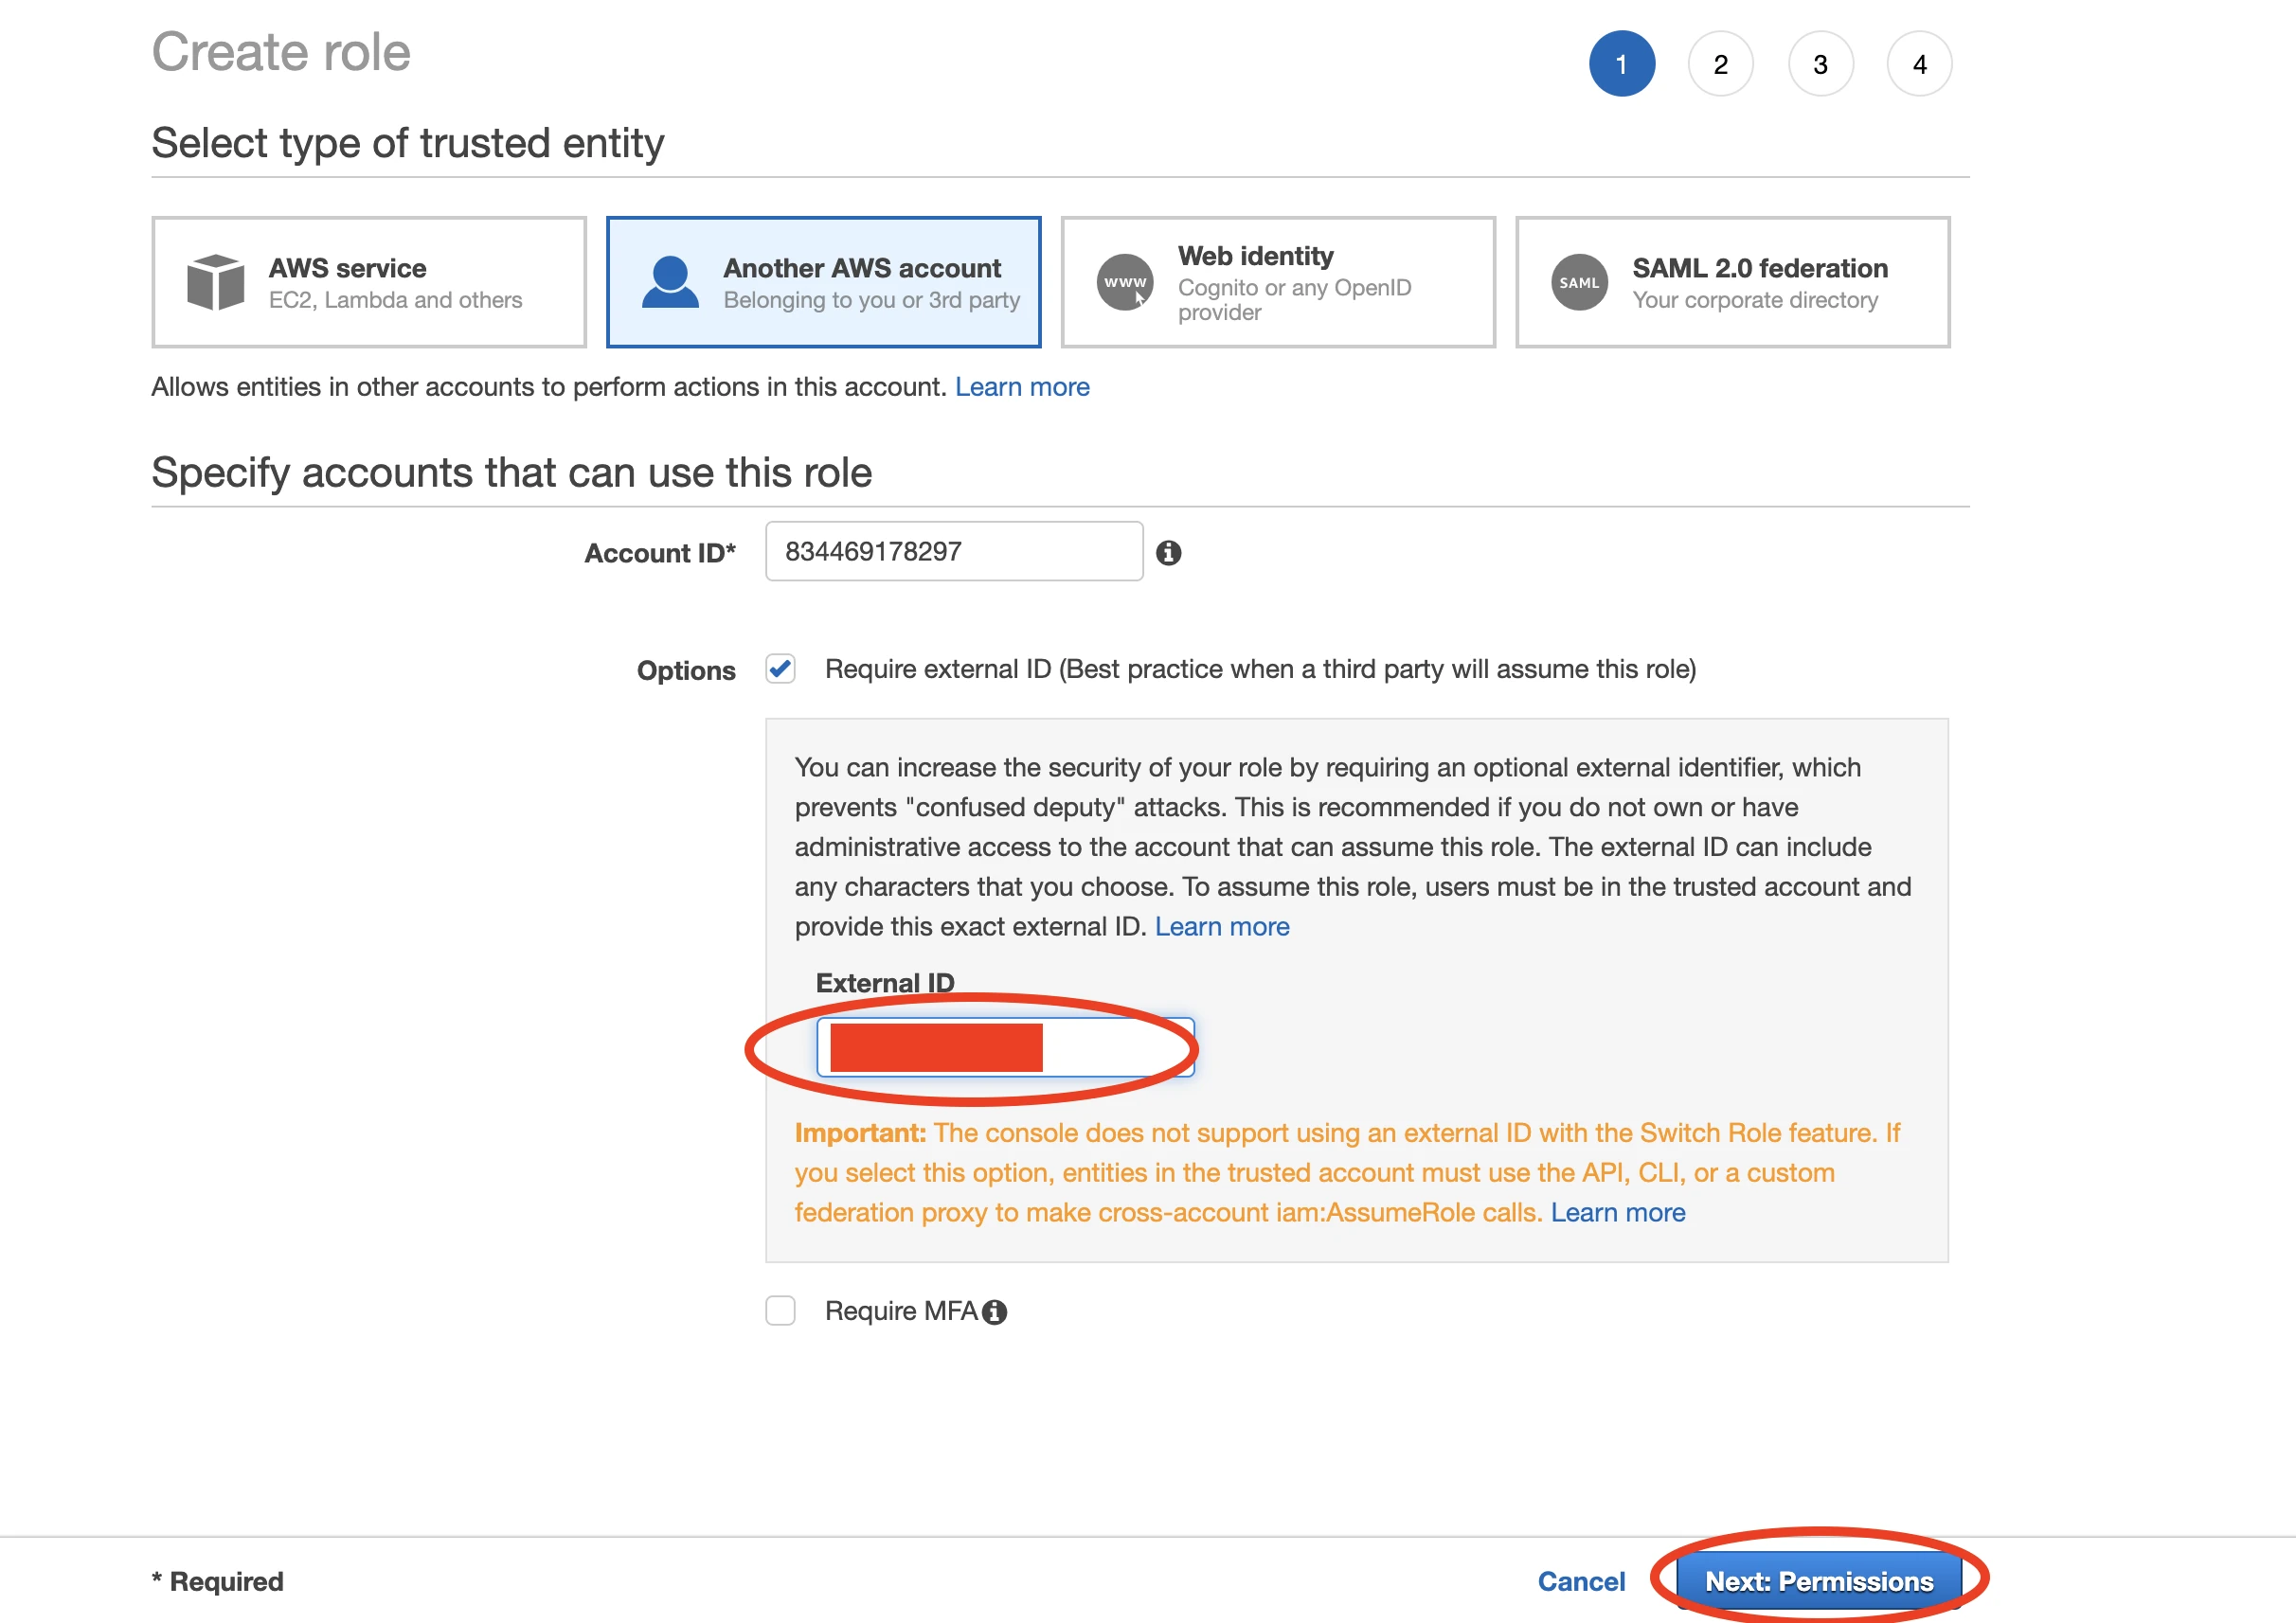
Click Next: Permissions.
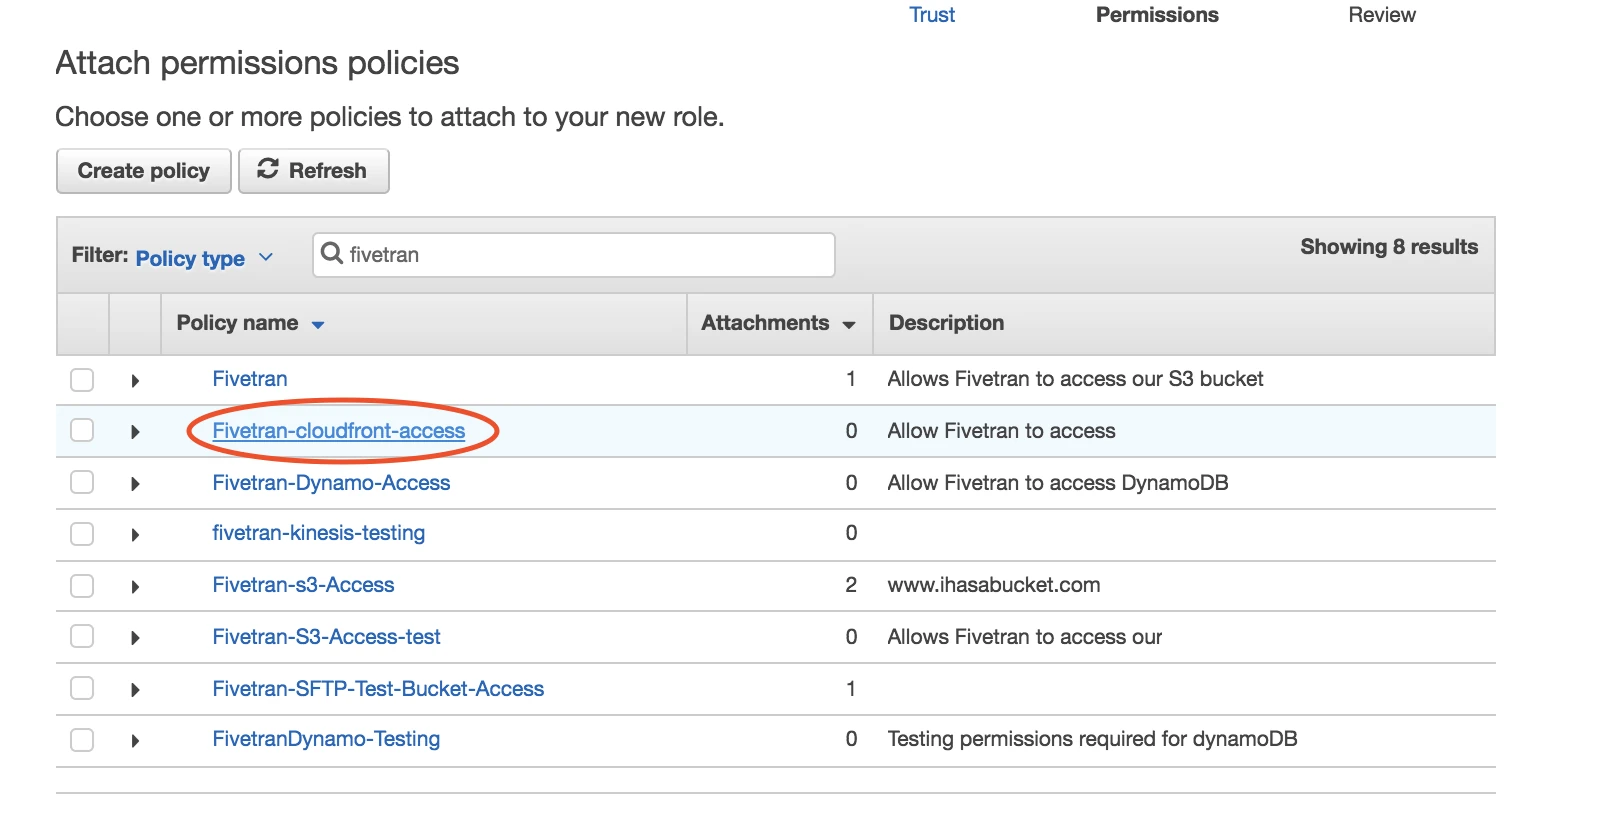
Select the "Fivetran-cloudfront-access" policy that you created in Step 3.
Click Next: Tags, which is optional.
Click Next: Review.
Name your new role "Fivetran".
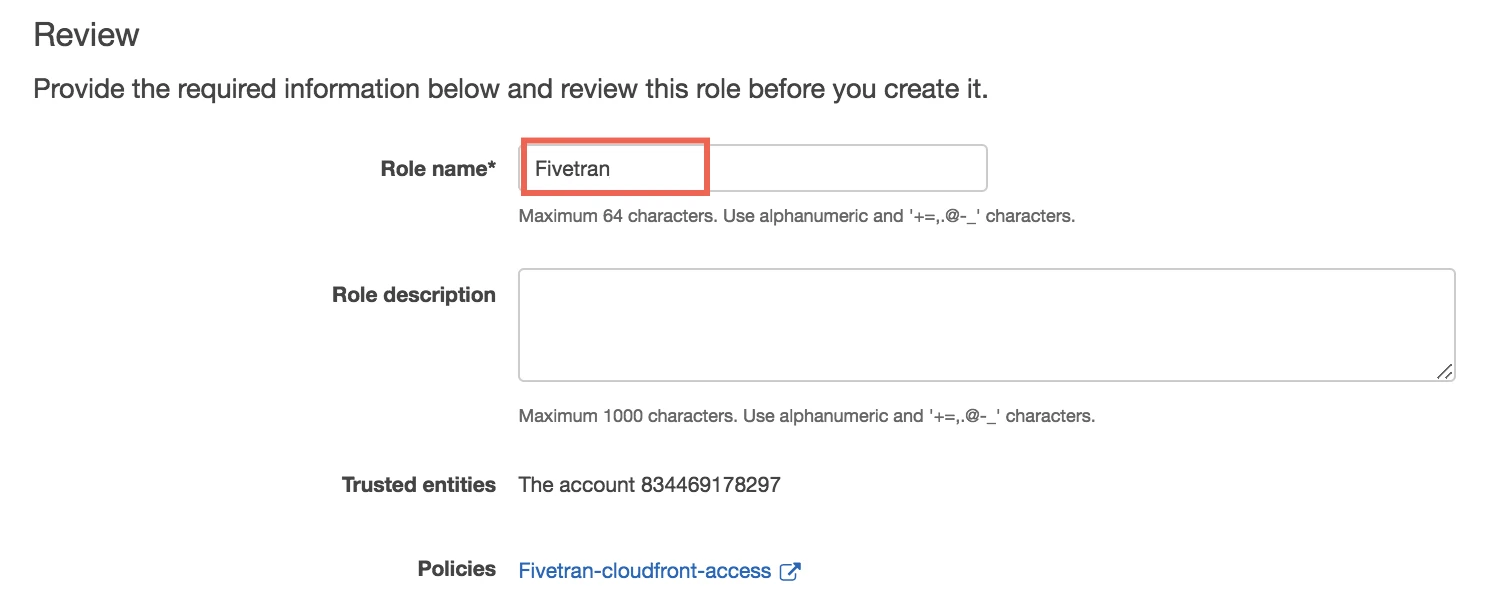
Click Create role.
Select the Fivetran role you just created.
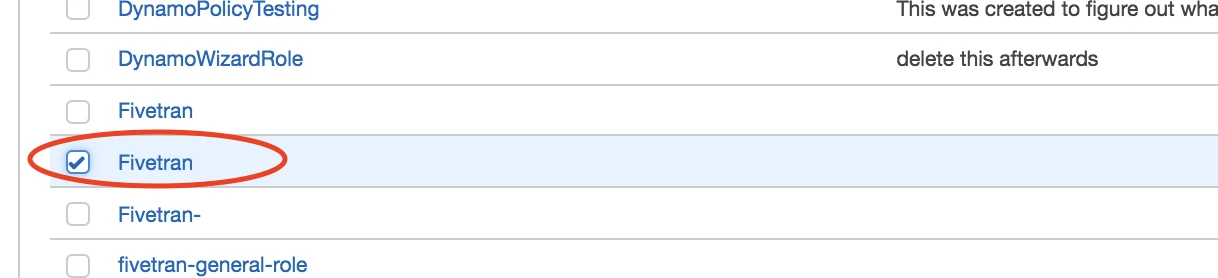
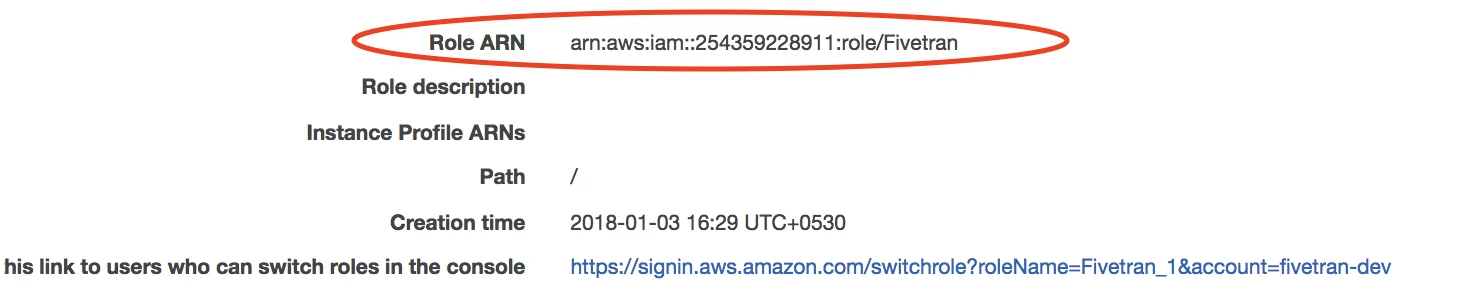
Find the Role ARN and make a note of it. You will need it to configure Fivetran.
(Optional) Set permissions
You can specify permissions for the Role ARN that you designate for Fivetran. Giving selective permissions to this role will allow Fivetran to only sync what it has permissions to see.
Finish Fivetran configuration
In the connection setup form, enter your chosen Destination schema name.
In the Destination schema names field, choose the naming convention you want Fivetran to use for the schemas, tables, and columns in your destination:
- Fivetran naming: Standardizes the schema, table, and column names in your destination according to the Fivetran naming conventions.
- Source naming: Preserves the original schema, table, and column names from the source system in your destination.
If you want to modify your selection, make sure you do it before you start the initial sync.
Enter your S3 bucket.
Enter the Role ARN you found in Step 4.
(Optional) Enter your folder path.
Click Save & Test. Fivetran will take it from here and sync your CloudFront data from your AWS S3 bucket.